Tatting Patterns
TATTING – a fine art that is easy to learn
When learning to tat, you will find it easier to use a coarse thread so that all of the stitches can be readily seen. Size 20 or 30 Mercerized Crochet is excellent for this purpose. A tatting shuttle 2½ to 3 inches long is used for fine or medium work. For coarser work a longer shuttle is used.
Winding the Shuttle:
Fasten the thread by a knot to the little bobbin inside the tatting shuttle, and wind the thread evenly around the bobbin, row over row. It is easier to work with the bobbin wound only half full. If you wind the bobbin full, be sure that the thread does not project beyond the edge.
How to Hold Threads:
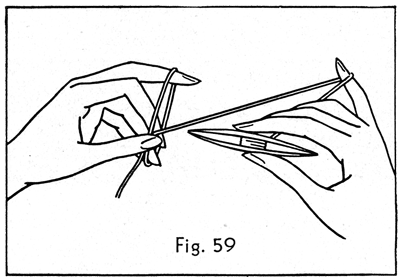
With about 18 inches of thread hanging loosely from the bobbin, hold the flat sides of the shuttle between the thumb and forefinger of the right hand —with the thread passing under the middle and ring fingers and over the little finger. With the left hand, pick up the end of the thread between the thumb and forefinger and encircle the spread middle, ring and little fingers—crossing the thread over the end and holding it firmly between the thumb and forefinger (fig. 59).
Making the Tatting Stitch:
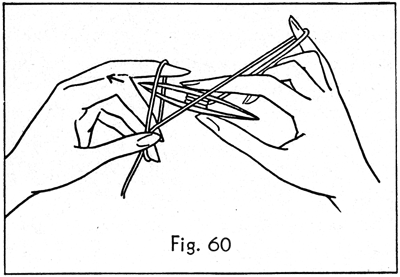
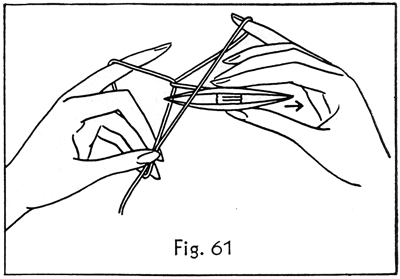
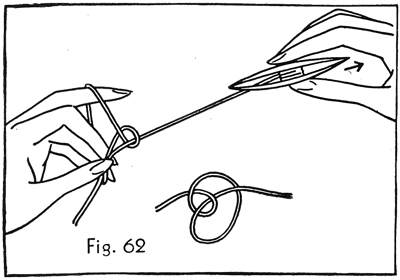
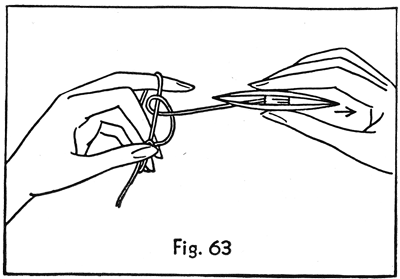
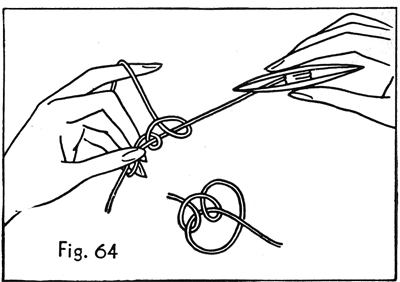
The tatting stitch is made in two parts and is referred to as "double stitch". To make the first part, hold the thread in position as explained above, slide the shuttle under the thread between the forefinger and middle finger of the left hand (fig. 60), and without turning the shuttle bring it back over the same thread and under the thread extending from the left thumb and forefinger to the little finger of the right hand (fig. 61). Immediately after this stitch is made, stretch the shuttle thread tightly and then, by extending the middle finger of the left hand, slide the stitch down the stretched shuttle thread and hold it firmly between the thumb and forefinger of the left hand (fig. 62). Before going on to the second half of the double stitch it is well to practice making this single stitch (62a) until you can make it with ease. The stitches must be made so they will slip easily along the circle of thread in the left hand. To make the second half of the double stitch slide the shuttle over the thread between the forefinger and middle finger of the left hand (fig. 63) and bring it back towards you under the same thread, and over the thread extending from the left thumb and forefinger to the right hand little finger. Immediately when this stitch is made, stretch the shuttle thread as before—by extending the middle finger of the left hand—and hold the stitch firmly between the left forefinger and thumb (fig. 64). This completes the double stitch which is the basic stitch for all tatting (64a).
Working with the Two Shuttles or a Ball and Shuttle:
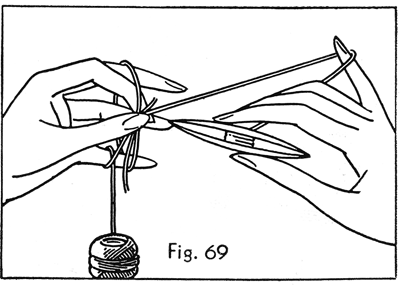
Two shuttles, or a ball and shuttle, are used when rings or scallops are not to be joined at the base by a thread, or when you wish to conceal the passage of the thread to another group of stitches. Two shuttles are used when working with threads of different colors. Rings can be made only with the shuttle, and chains are made with the shuttle on the ball thread. When using two shuttles, or a ball and shuttle, tie the thread ends together. The thread with which you are not working is passed over the second finger of the left hand and wound around the little finger, leaving the shuttle or ball hanging (fig. 69). Hold the shuttle with which you are working in the right hand and proceed as if using only one shuttle.
Abbreviations and Definitions:
Double Stitch (d s): A combination of the two half stitches.
Ring (r): When the desired number of stitches is made, draw up the shuttle thread so that the first and last stitches touch, making a circle or ring. When "r" appears at the beginning of directions, it means to get the thread in position around the fingers of the left hand to start the ring.
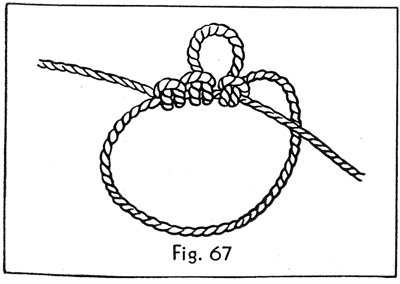
Picot (p): Picots are loops between stitches and are used for ornamentation and also as means of connecting different parts of the work. To make a picot, leave a little space between the last half of the completed stitch and the first half of the following one. Then when you close up the stitch the picot forms naturally (fig. 67). In all tatting directions, the stitch that follows the picot is not considered part of the loop, but is counted as a double stitch. With practice you can make the picots uniform in length.
Long Picot (lp): A long loop between stitches.
Small Picot (sm p): Small loop between stitches.
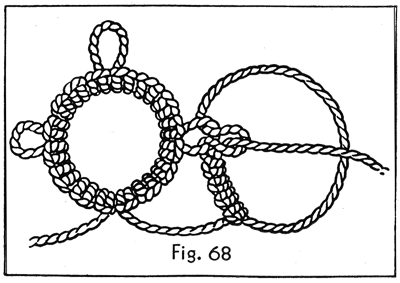
Joining: To join tatting together with picots, insert a crochet hook or pin downward into a picot of a finished ring or motif, catch the thread that is on the left hand and draw it through the picot. Pass the shuttle through the loop thus made and tighten it the same as any other stitch (fig. 68).
Chain (ch): A series of double stitches made with the shuttle on the ball thread.
Josephine Knot: A ring made of single stitches like the first half of a double stitch, drawn up very closely to form a circle.
Scallops: A series of double stitches drawn into a semi-circle, leaving a single thread across the bottom.
Two Dainty Edgings to Make:
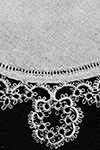
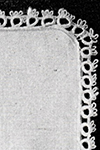
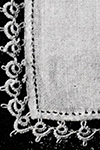
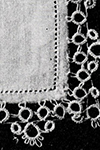
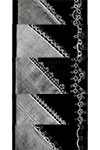
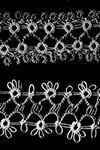
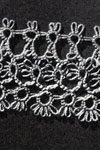
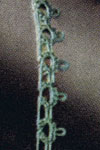
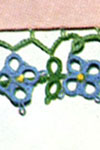
Fig. 65. Using one shuttle, r, 7 d s, lp, * 5 p separated by 1 d s, lp 7 d s, close. Leave about ¼ inch of thread clear. R, 10 d s, close. Leave about ¼ inch of thread clear. R, 7 d s, join to lp of 1st ring, and repeat from *.

Fig. 66. Using one shuttle and a ball of thread, tie shuttle and ball thread ends together. R, 4 d s, p, * 5 d s, p, 4 d s, close. Turn. On ball thread make ch of 4 d s, p, 4 d s. Turn, with shuttle thread, r, 4 d s, join to 1st ring, and repeat from *.

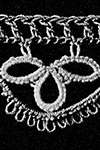
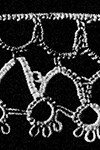
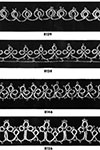
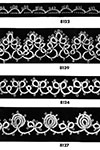
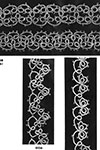
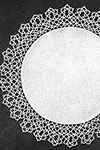
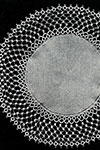
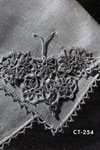
TATTED EDGING PATTERNS
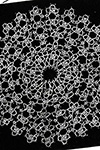
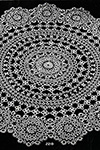
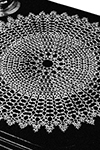
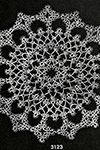
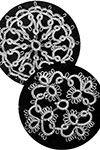
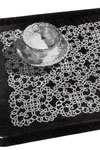
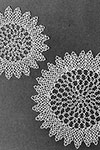
TATTED DOILY PATTERNS
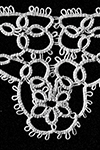
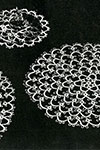
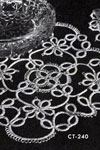
TATTED MOTIF PATTERNS
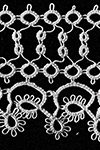
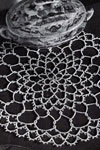
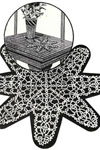
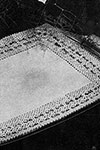
TATTED MAT PATTERNS


